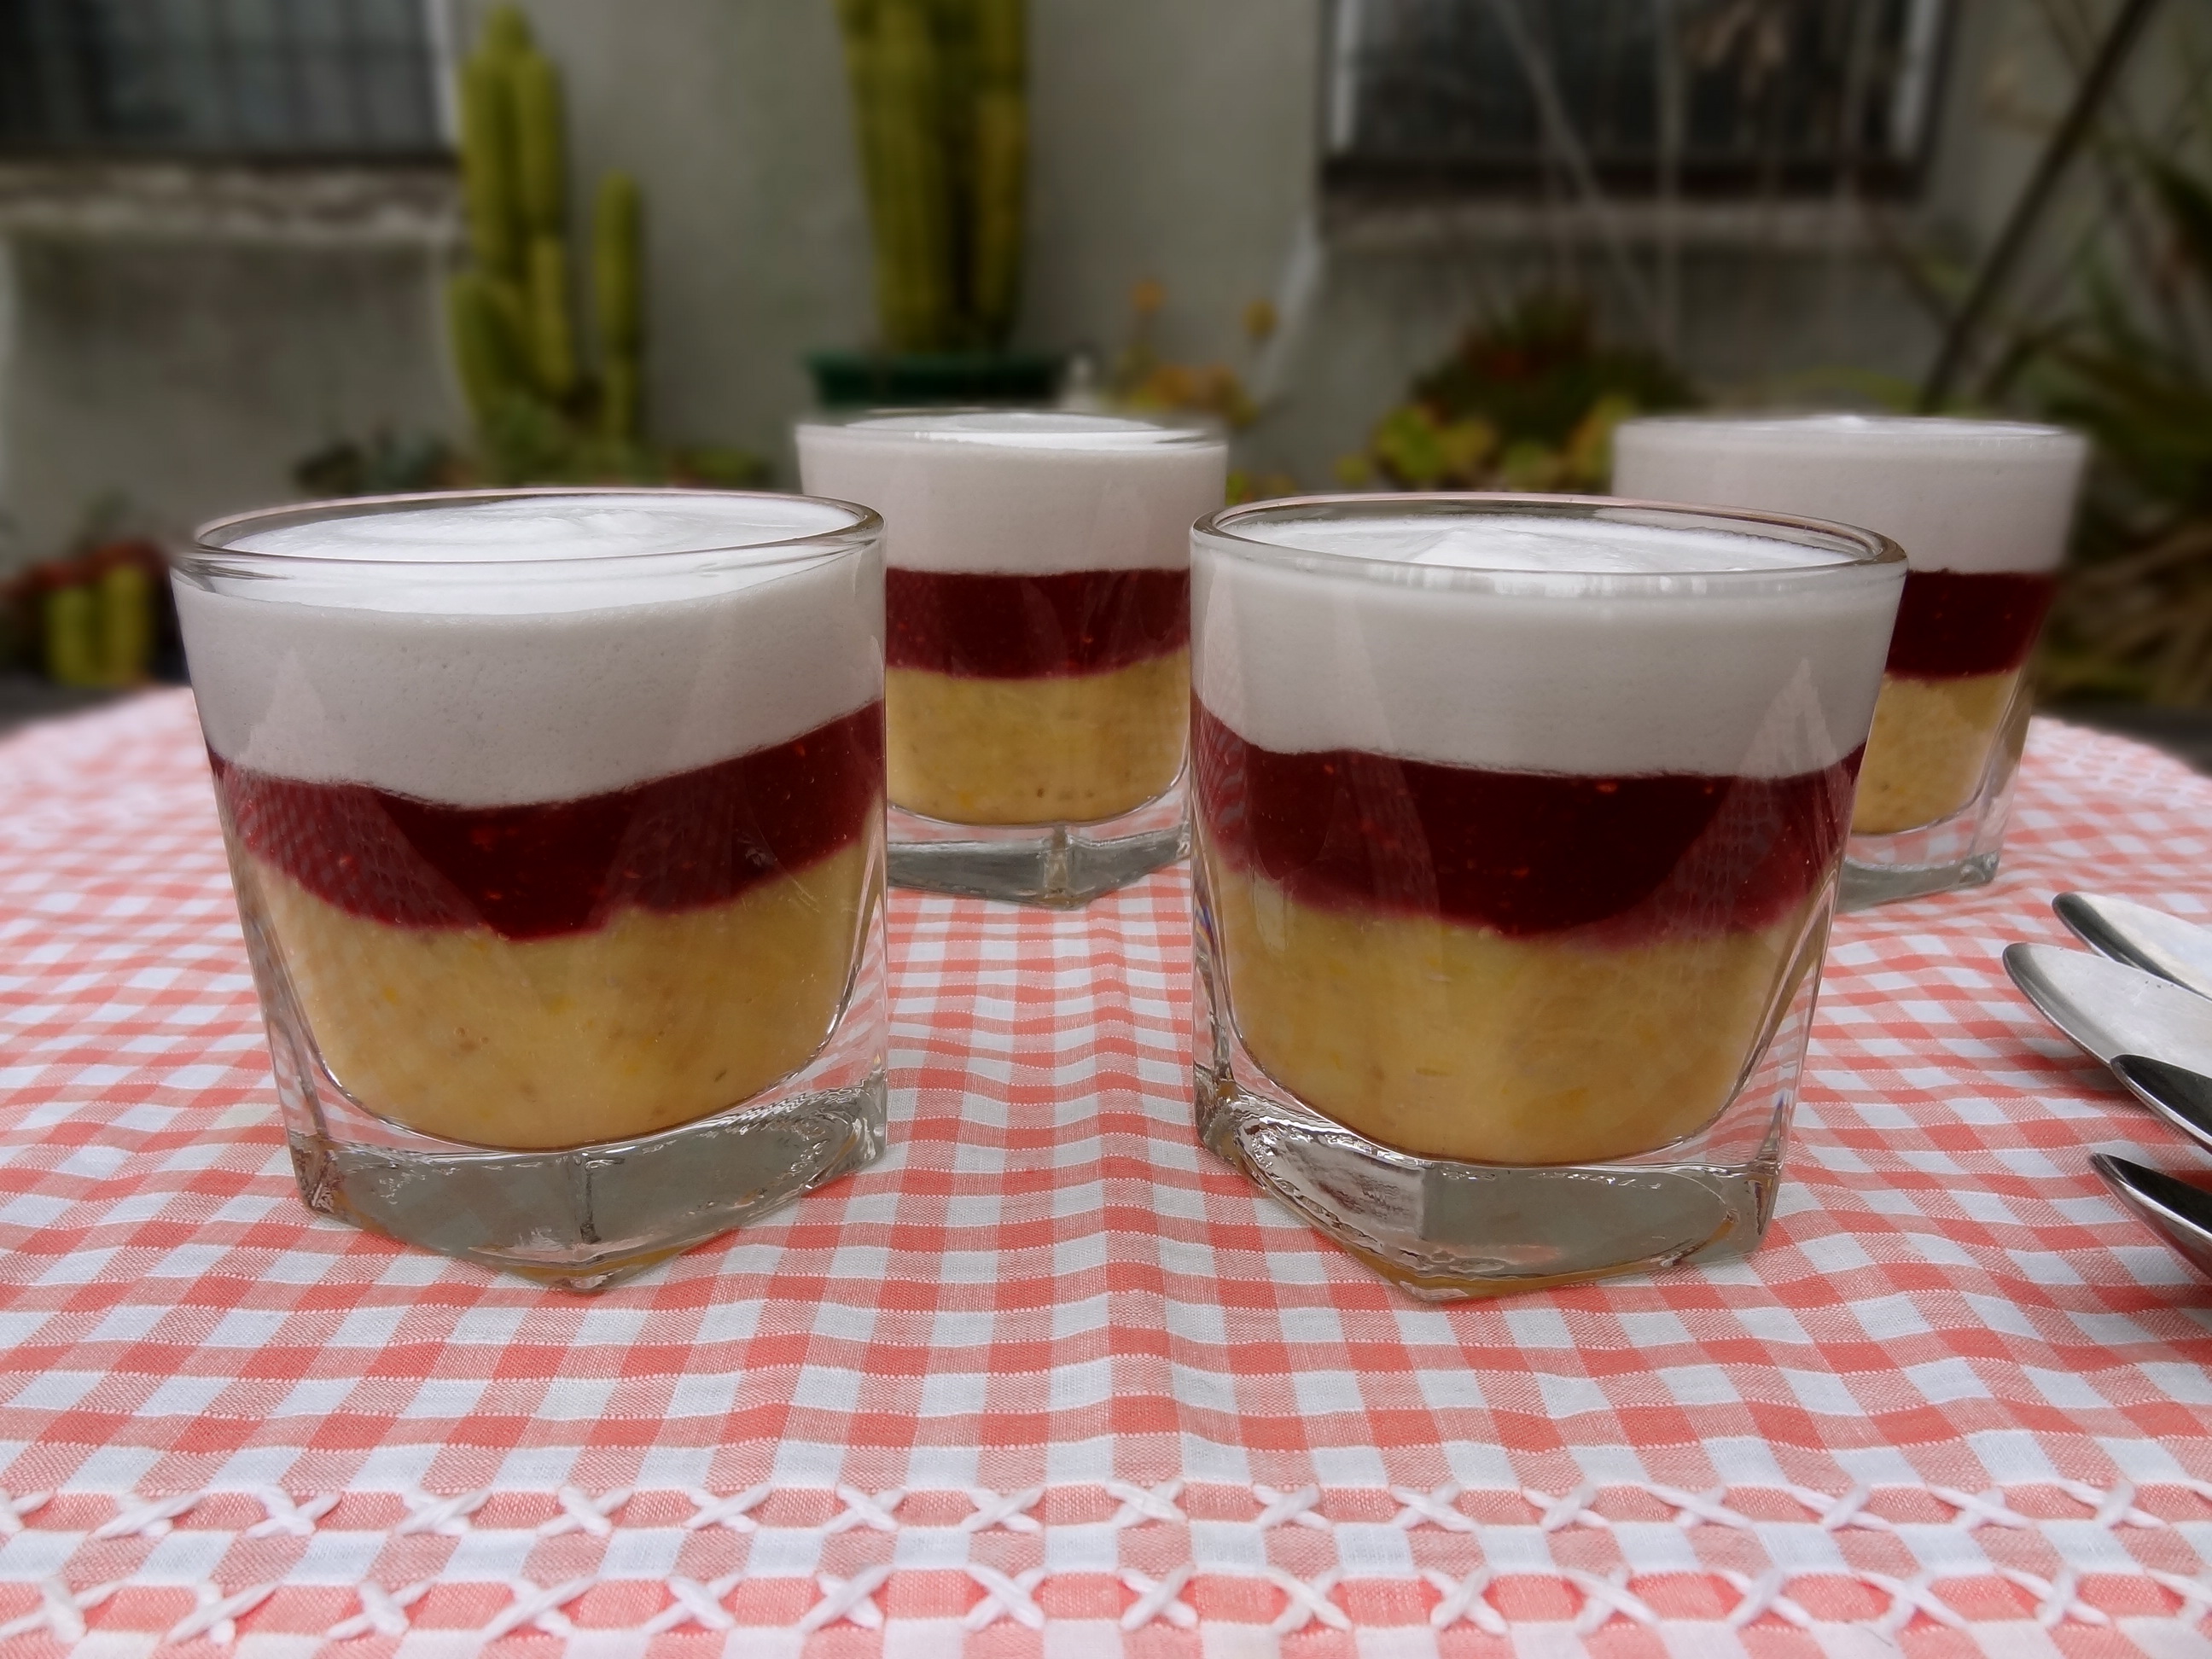
Lemon, Berry and Coconut Puddings
Serves 4
My Mum and I share the philosophy that lemons are worth their weight in gold. No other fruit comes close to being so versatile in both sweet and savoury dishes and has the ability to lift any dish it touches. Berry and lemon is a stellar combination and one of my all time faves, complementing each other beautifully. Throw velvety, sweet coconut cream in the mix and – voilà! – a dreamy dessert is created. These lemon, berry and coconut puddings are light, refreshing and most importantly, decadent without being too heavy.
* Note: You may prefer to use white chia seeds (whole or ground) for the lemon curd if you would like a less speckled lemon layer. Also, if you would like a more decadent dessert, add the leftover egg whites (beaten) to the coconut layer to form a coconut mousse.
Lemon Layer
2/3 of a cup of lemon juice (about 5 large lemons)
The zest of two lemons
1/3 of a cup of honey or maple syrup
5 free-range egg yolks
1 free-range egg
1 teaspoon of vanilla paste
1 heaped tablespoon of white chia seeds*
Place all of the ingredients into a thick-bottomed saucepan and whisk together at a low to moderate heat. Whisk constantly until the mixture thickens, usually about 5-6 minutes or when the mixture sticks to the back of a spoon. Take off the heat, transfer into dessert glasses and allow the mixture to set in the fridge for 1 to 2 hours.
Berry Layer
1 1/2 cups of mixed berries (fresh or frozen)
1/4 of a cup of honey or maple syrup
1 tablespoon of chia seeds
Place all of the ingredients in a saucepan and let it simmer over a low heat for five minutes with a tablespoon or two of water, until the berries are soft. Allow to cool, then blitz the mixture in the food processor or blender until it reaches a smooth consistency. If you’re not a fan of pips, strain through a sieve, rubbing the mixture through with the back of a spoon. Delicately spoon the berry mixture on to the chilled lemon layer.
Coconut Layer
1 can of coconut cream, chilled in the fridge overnight
1 – 2 tablespoons of honey or maple syrup
1 teaspoon of vanilla paste
Leftover egg whites from the lemon layer (optional)*
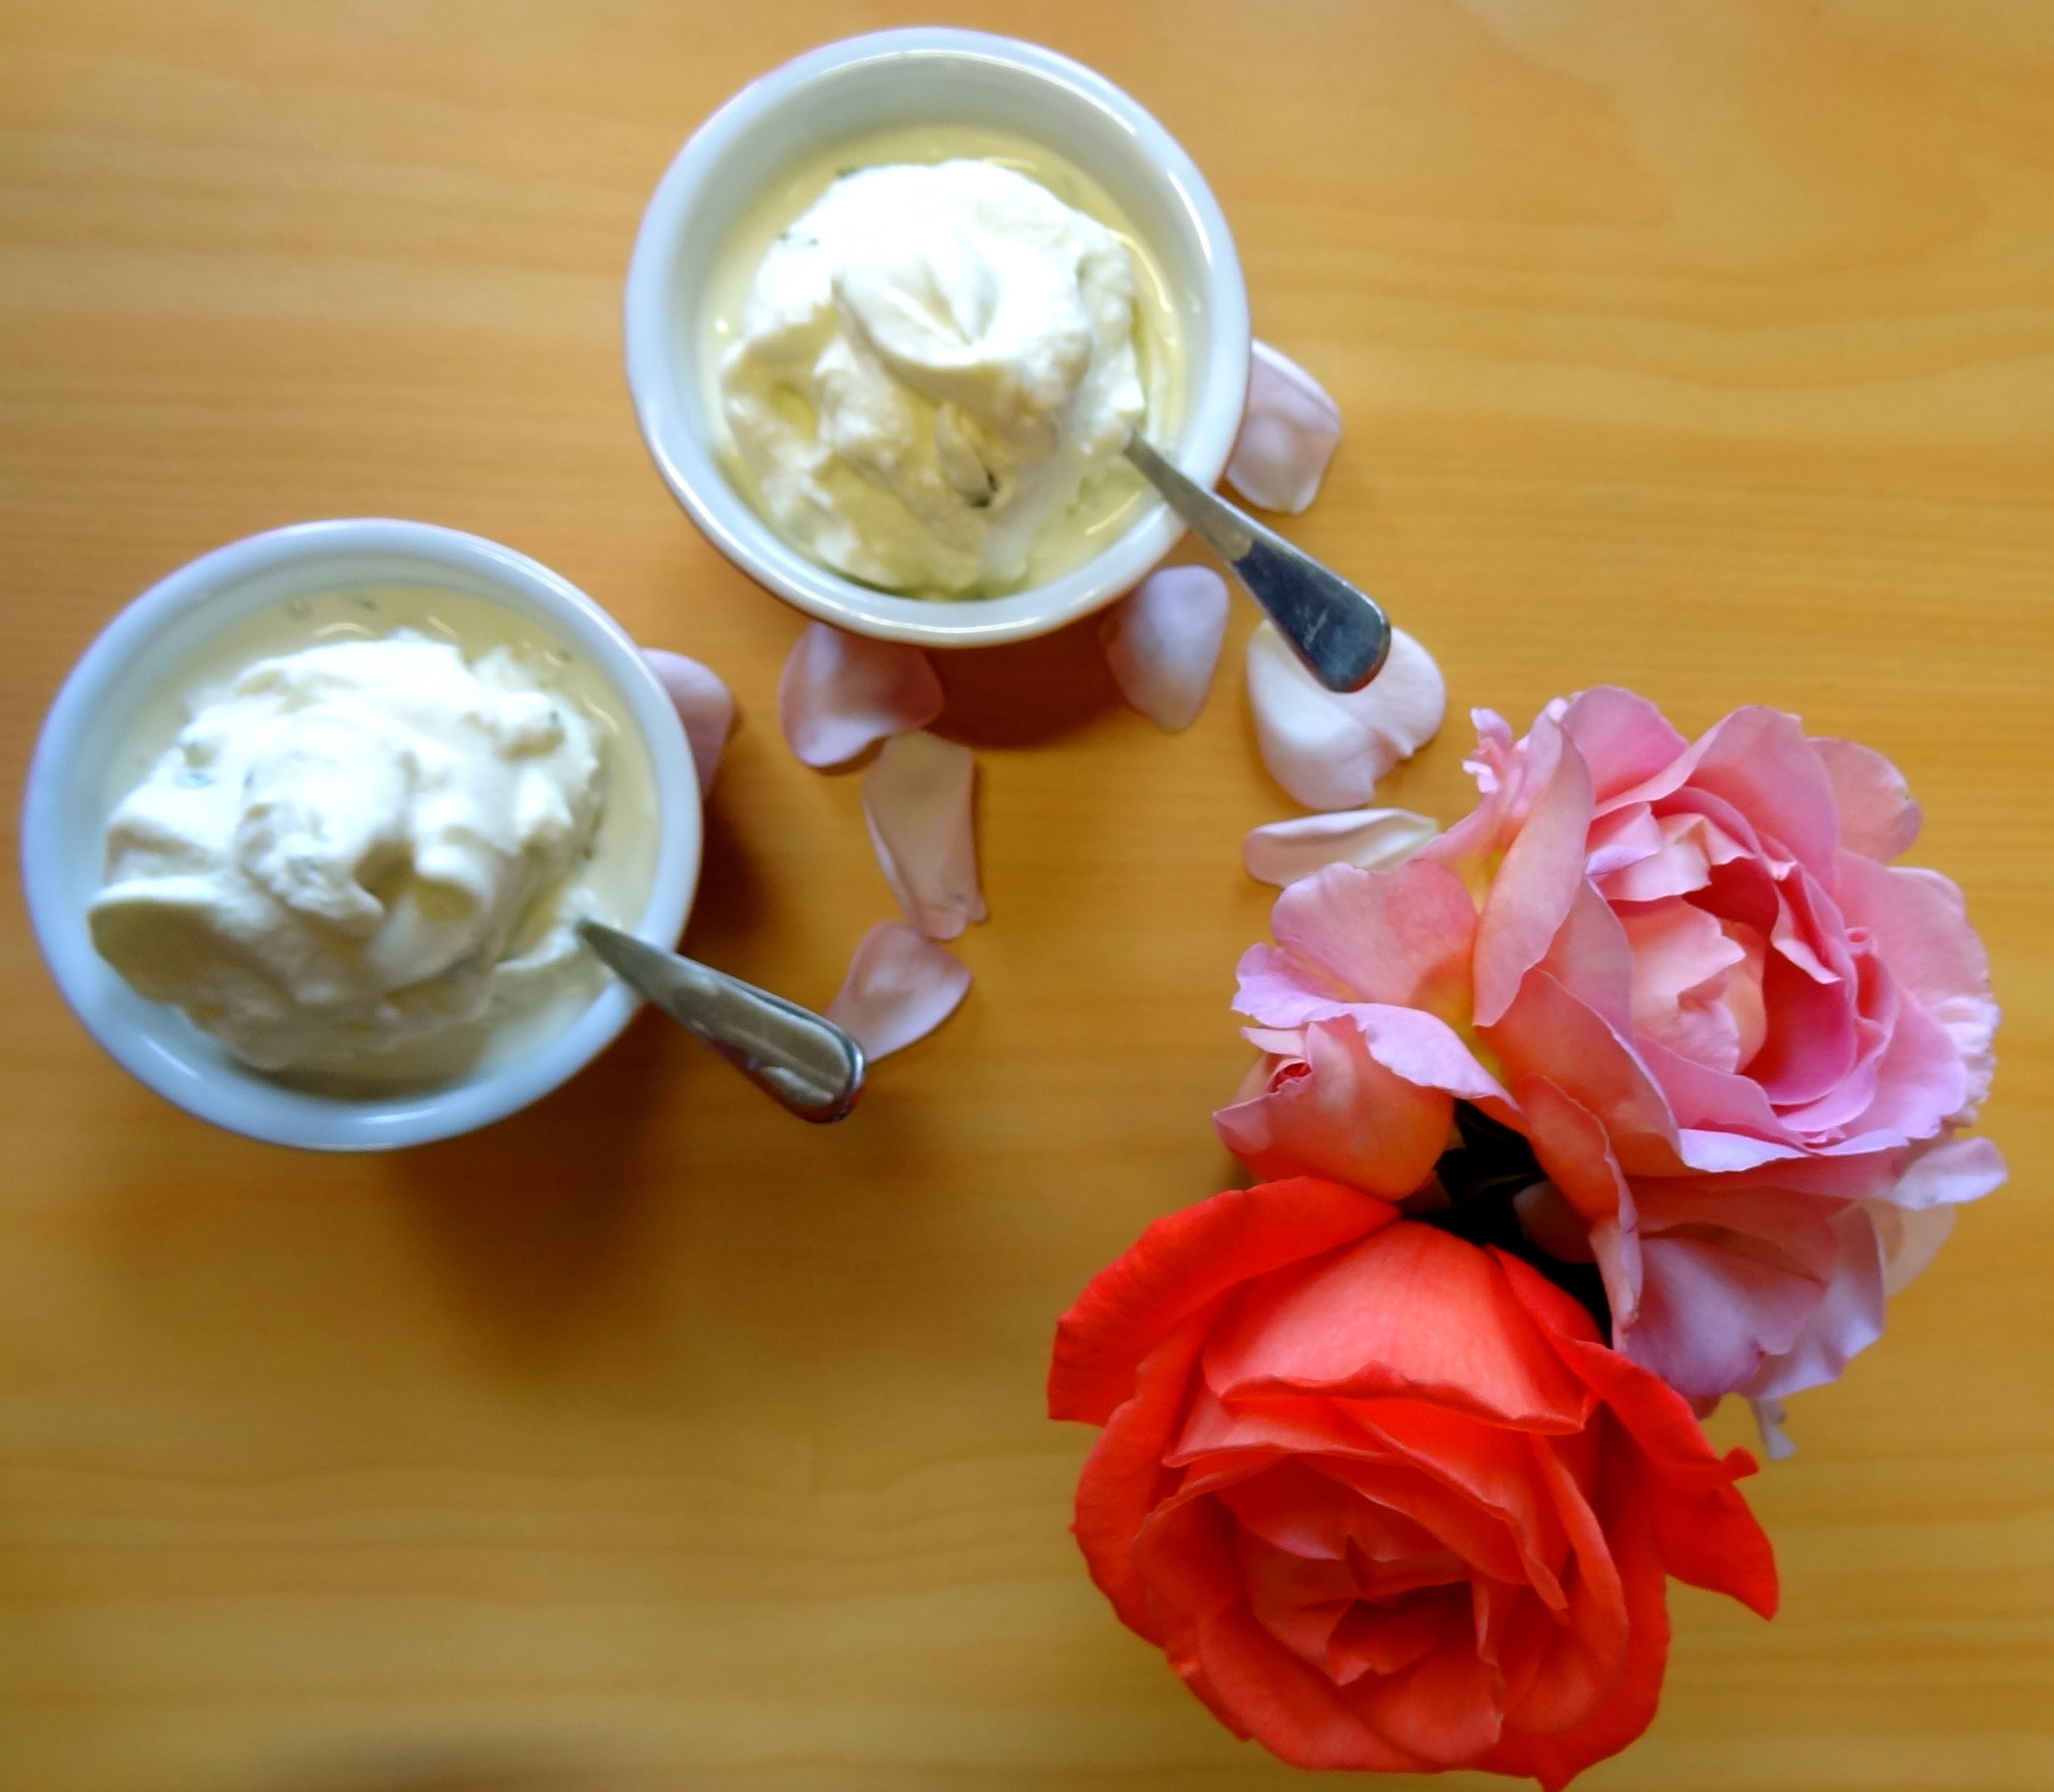
Flip the chilled can of coconut cream over and open. The contents will have separated in to water and hardened cream. Pour out the liquid and keep for smoothies or curries. Whip the coconut cream, vanilla and honey or maple syrup until soft peaks are formed. If you would like to create a more decadent dessert, beat the egg whites until they too resemble soft peaks and gently combine. Spoon in to the glasses and refrigerate until ready to be served.